
Microsoft 365 Tip – Use Schedule Polls to ease meeting organisation
At iThink 365, we want to help you work smarter and not harder. Our CEO, Simon Doy, spends a lot of time organising meetings with customers and potential customers. Finding a date and time that everyone can do is hard and a massive waste of time.
That is where Scheduling Polls, a free tool in Microsoft 365, which is part of Microsoft Outlook, can help. In the same way that Doodle and When Available work, it allows you to create a poll with a set of suggested dates and times that you can do. You then send out the FindTime poll, and everyone can respond with times they can do and which ones they prefer.
How does it work?
It all starts with an email.
- Create an email, ensure you have added an email and subject.
- ask them for some dates and times when they are available.
When you are ready to suggest some dates and times, then click New Meeting Poll.
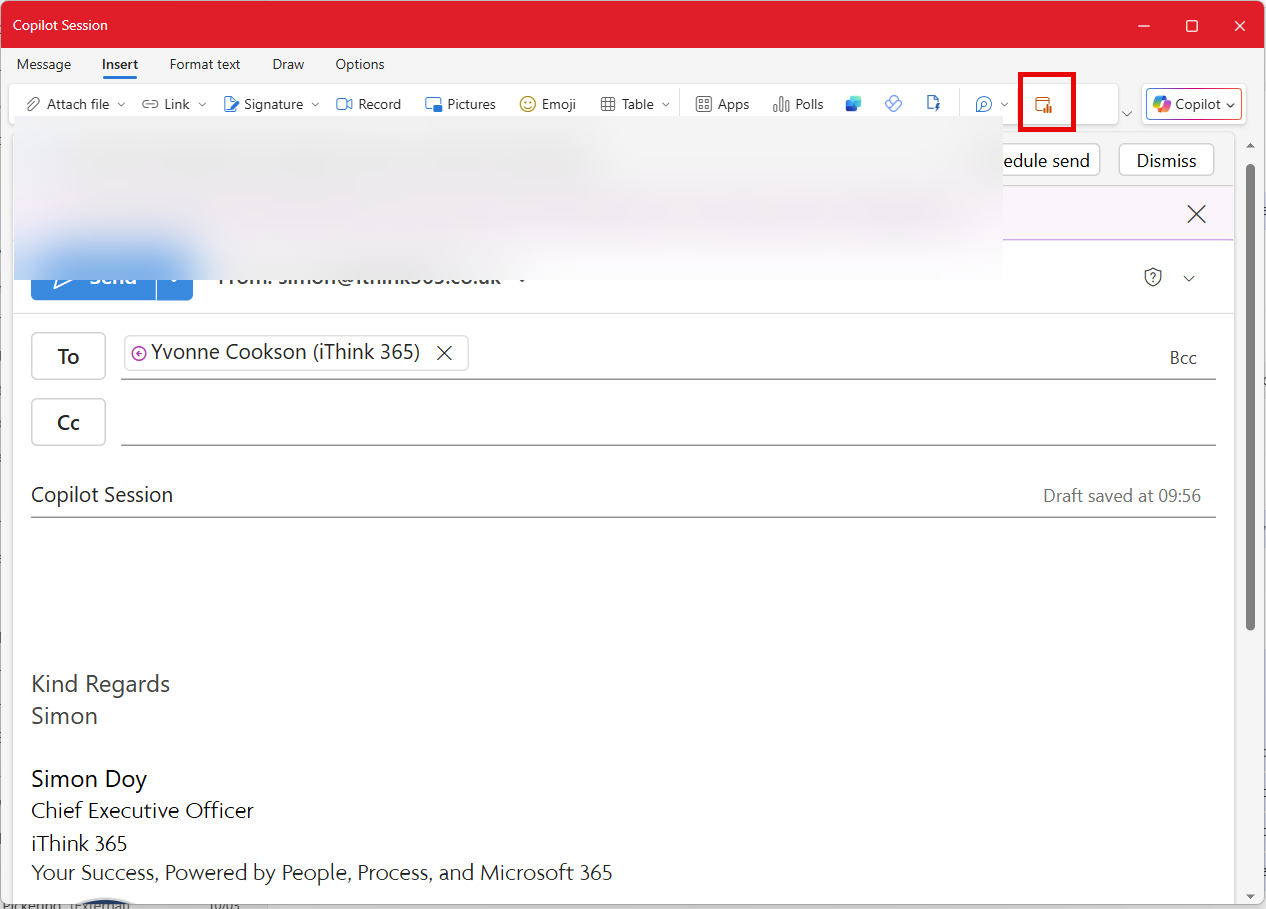
A task pane will appear on the right-hand side of your Outlook message.
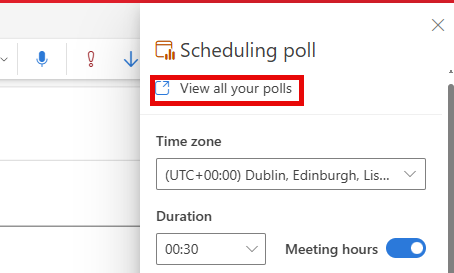
- Choose the duration that you are looking for.
- Select the time zone if you need to.
- Use the selectors to flick through the months and the days and select the right day.
- Click on the rows to select them as options for your meeting.
- You can choose times from multiple days.
- Click Next when you have made all your selections.
Because the Scheduled Poll application is within Outlook, it can read your calendar and remove the times when you are unavailable due to other appointments.
If you are arranging a meeting with someone whose calendar you have access to, then Scheduled Poll will also let you know what options work for them.
There are two icons for each time.


Once you have clicked Next, you are taken to a screen to provide the location and provide your settings for the poll.
At iThink 365 we like the following settings:
- Know when people have responded to your poll.
- Switch on the Schedule when attendees reach consensus.
- Hold selected times on my calendar.
- Require attendees to verify their identity.
In particular, “Hold selected times” will add calendar entries so I do not double book myself and, also scheduling when attendees reach consensus means that we get a meeting invite sent.
The only thing is that it is then important to make it a productive meeting by adding an agenda and context to the meeting.
Once you are happy with your Meeting Poll, click “Add to email”

How do I get access to all my previous polls?
Check out all your Scheduled Polls by opening up the Scheduled Polls app and clicking on “View all your polls” link at the top.

How do I get access to the Scheduled Poll App?
Scheduled Poll is now part of Outlook, so it should be available to you already.
Conclusion
So, the next time you find yourself having to organise a meeting, and you want to save sending out lots of emails to organise the best date and time, try the Scheduled Poll application!
Interested in learning more Microsoft 365 tips?
Get in touch by contacting us here.
Related knowledge...
-

Real ROI From Agents: What Business Leaders Should Actually Measure
Agents aren’t valuable because they’re clever. They’re valuable because they create a higher‑performing organisation, one where work flows run smoothly, customers get better experiences, and teams can…
-

Using Power Apps as Building Blocks, Not Quick Fixes
At iThink 365, we love it when organisations start building with Power Apps. It usually tells us two things straight away: But here’s what…
-

The Spreadsheet Trap: Why Excel Is Quietly Slowing Down Your Entire Organisation
For many organisations, Excel has quietly become the backbone of day‑to‑day operations. Holiday tracking. Scheduling. Order management. Approvals. Finance workflows. If a…